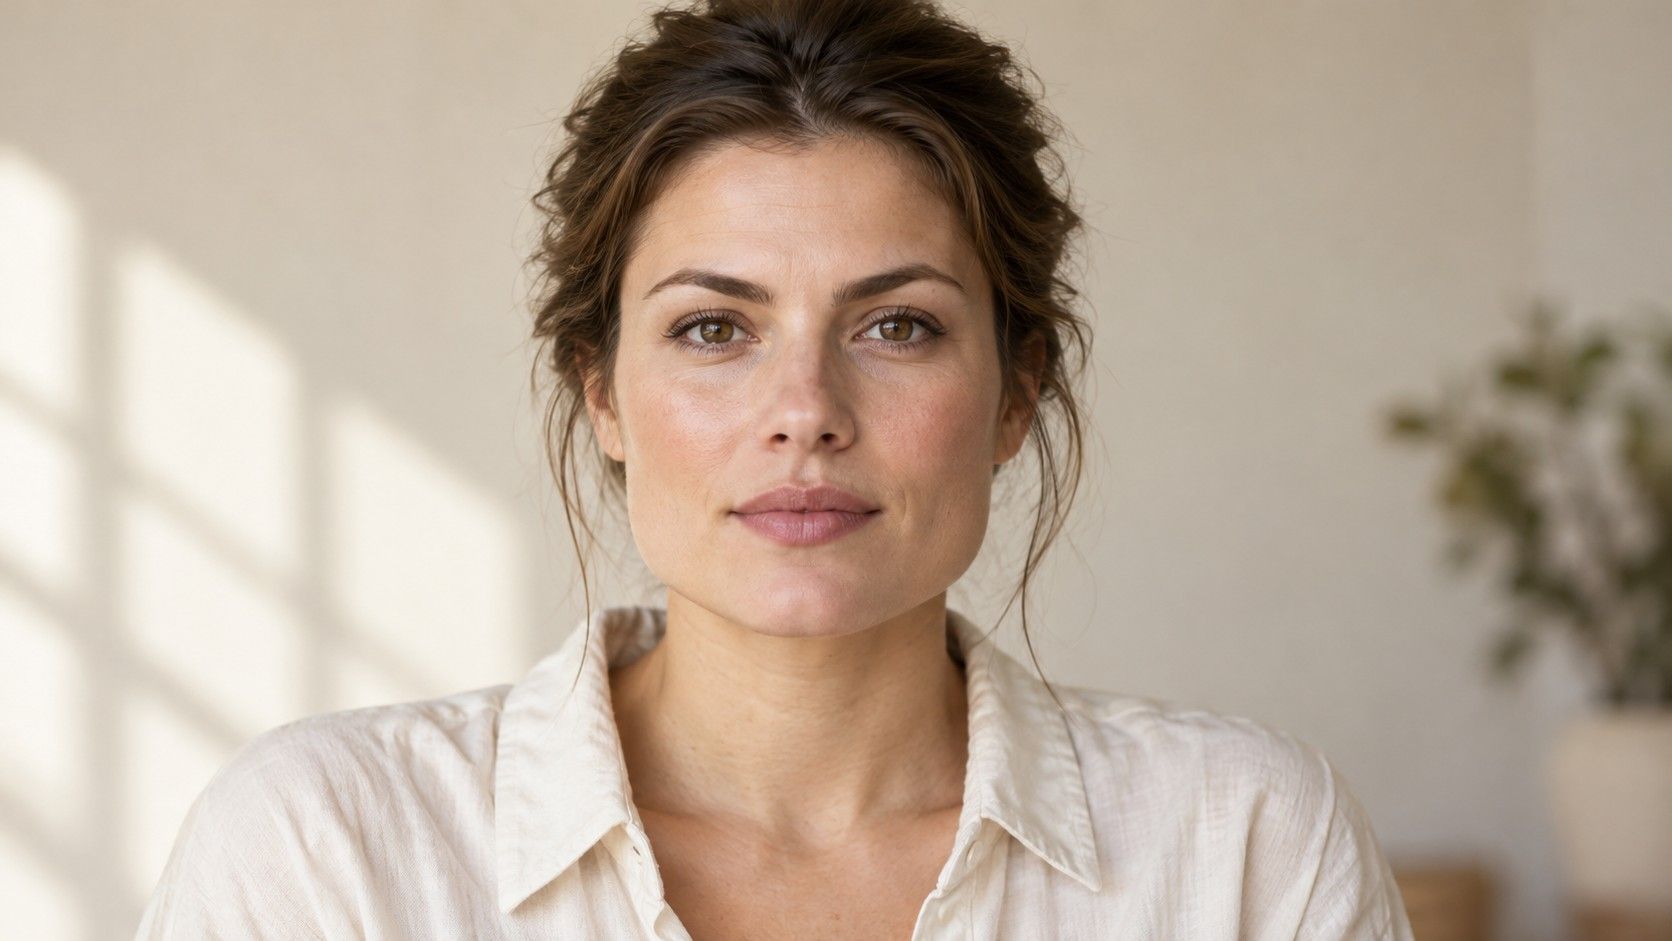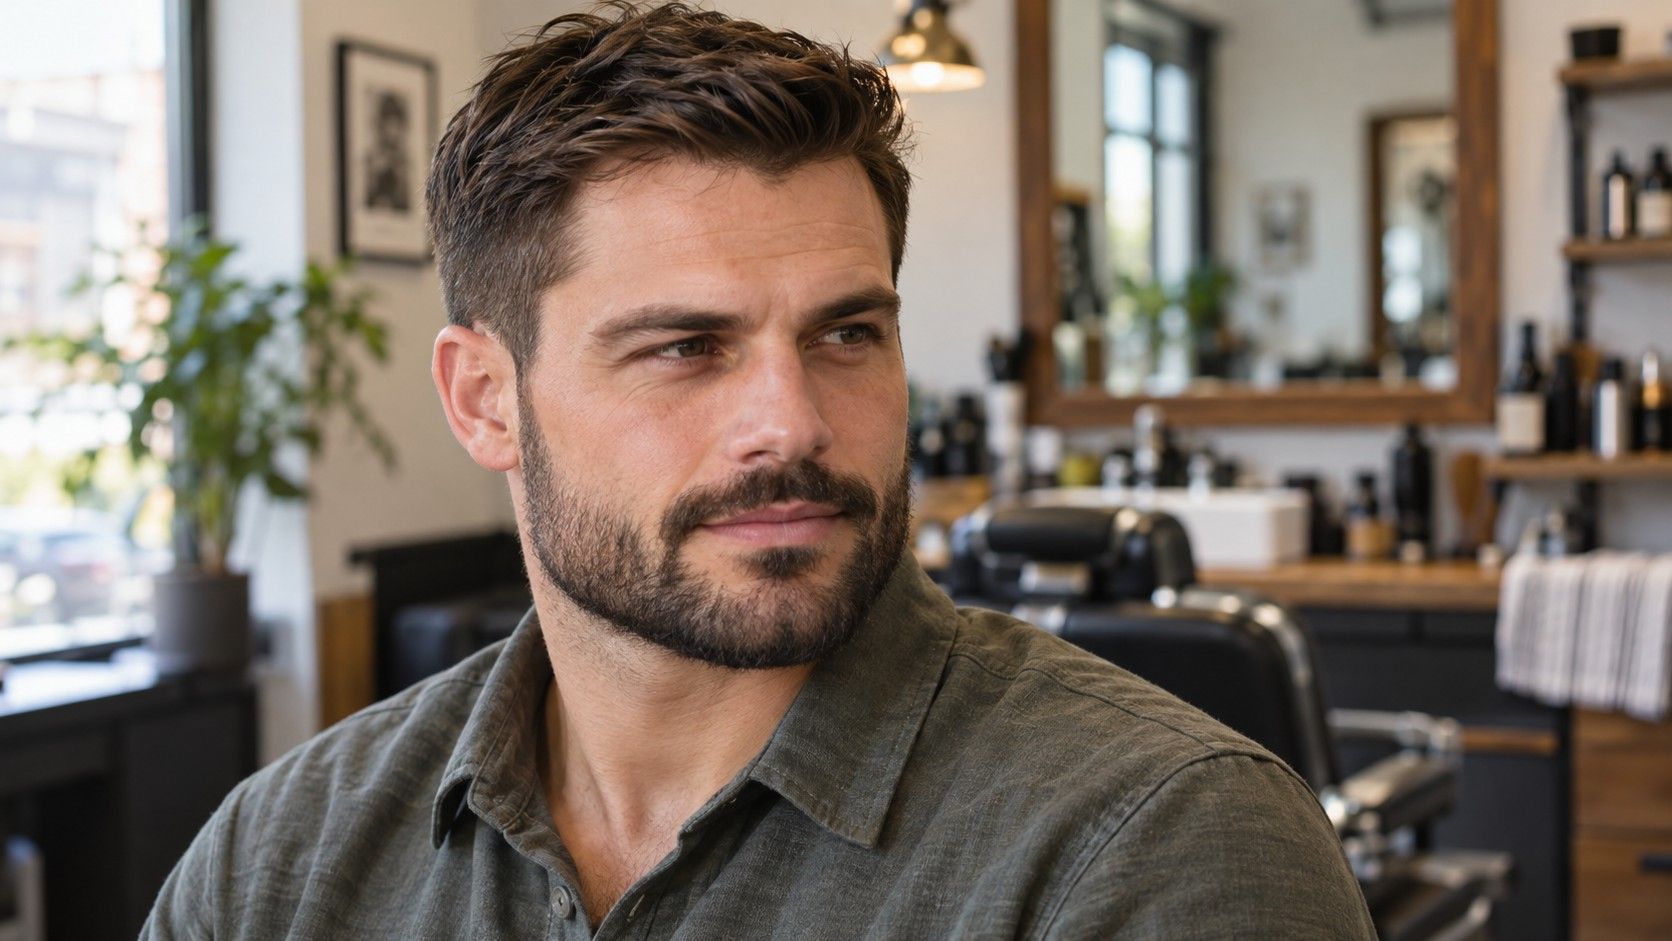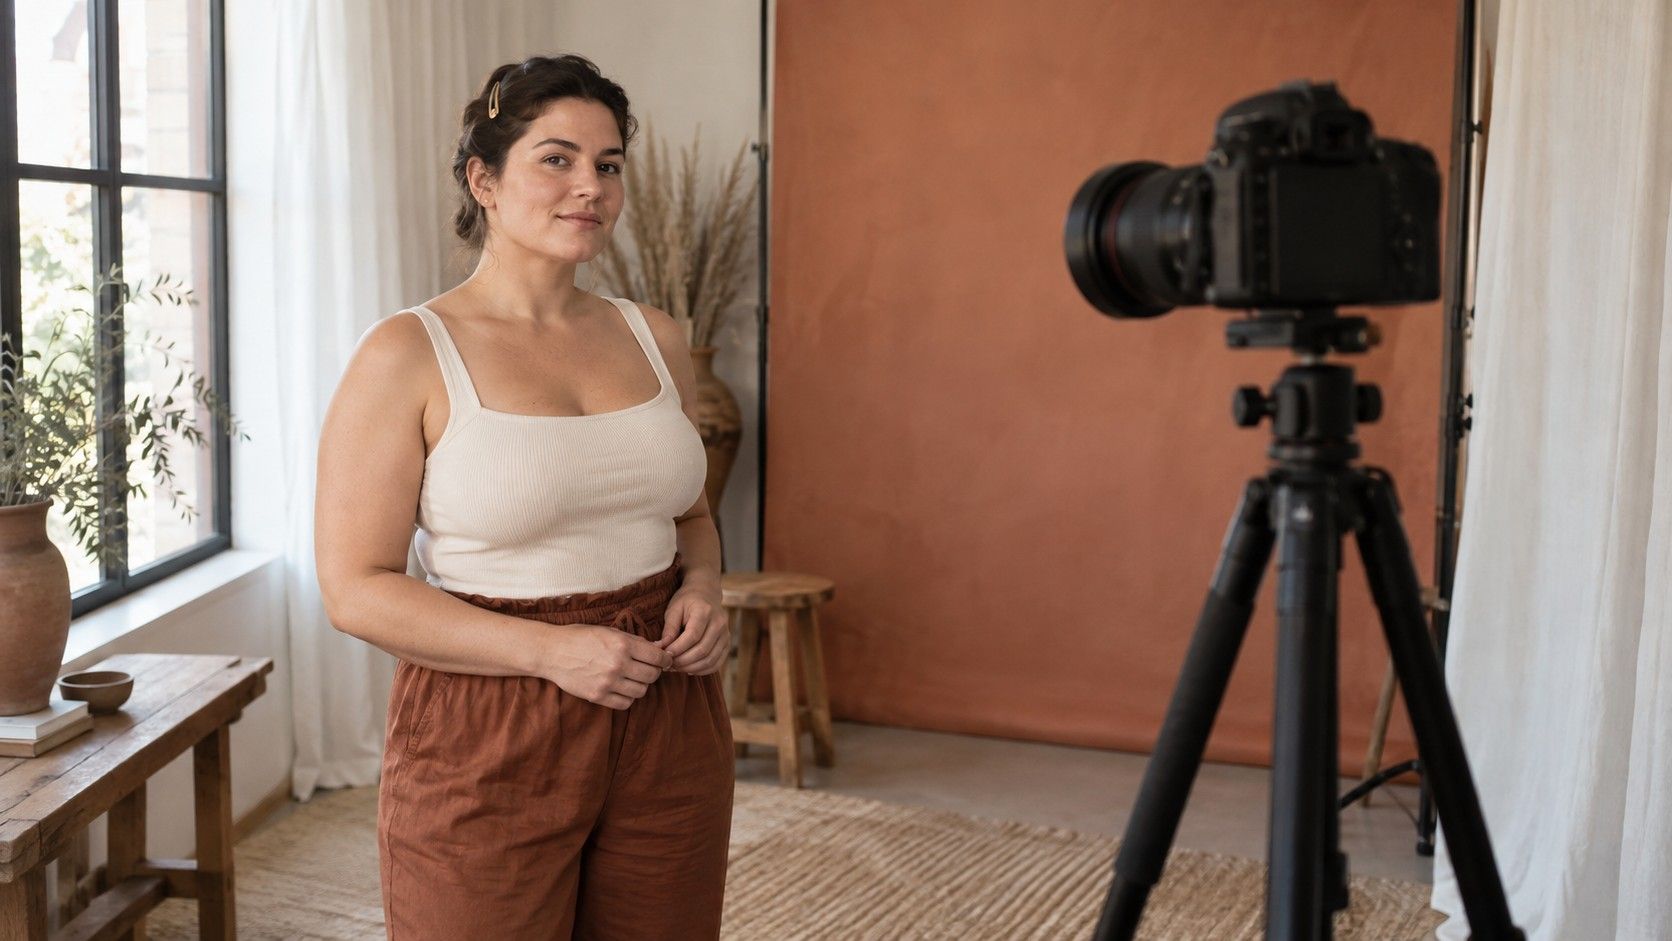
A square face shape photo check works best when the photographs are consistent enough to compare. An arm-length selfie, a portrait taken from above and a mirror view may each leave a different impression of the same jaw. Before accepting a new label, check how the picture was made. Face shape photo accuracy is limited by viewpoint, pose, framing and the way hair or facial hair covers the outline. You can reduce those distractions with a simple repeatable setup, but no casual image turns square, round or rectangle into a precise scientific category. The goal is a useful styling reference, not a definitive scan.
Start by separating the picture from the face
Look at your reference image before studying the jaw. Is the camera above your eyes? Is your chin lifted or tucked? Is one ear much more visible than the other? These clues suggest a viewpoint or head position that could make a front-outline comparison difficult. If the face is turned, the two sides are no longer presented in the same way. Measuring them as though the view were straight ahead adds precision without adding confidence.
Very close photographs are also a poor foundation for comparing facial proportions. Features sit at different distances from the camera, and the resulting perspective can alter the relationships you notice. Avoiding that problem does not require calculating an exact amount of distortion. Use a view taken farther away, keep the camera level and crop the result if you need a closer look.
Avoid blaming one phone lens or camera mode for every disagreement. Distance, head position and image processing can change together when you switch modes. A better test keeps those conditions as similar as possible. If an old selfie makes your lower face look different from a carefully arranged front view, preserve the uncertainty rather than declaring that one image reveals your “real” shape.
Build a simple setup you can repeat
Place the phone or camera on a stable support near eye level. Face it straight on, leave enough room around the head to see the hairline and chin, and use a timer if available. Stand back instead of reaching toward the lens. You can crop empty background later. Keep your shoulders comfortable and let the head sit naturally rather than stretching your neck to sharpen the jaw.
Choose even light that lets you see both sides of the outline. Facing a window can be useful when direct sun is not striking the face; a lamp close to one cheek can create a distracting dark edge. A plain background also helps. A dark strand of hair against dark furniture is hard to distinguish, so move a little or choose another background instead of guessing where the face ends.
Use the ordinary camera view and turn off filters or beauty settings that reshape or smooth the face. You do not have to investigate every technical option on the device. The practical check is whether a setting visibly changes the outline when you toggle it. If it does, leave it out of your comparison. Keep the original image rather than saving only an edited version with no record of the setup.
Take a few pictures while you remain in the same position. Select one where the eyes look level, both sides are similarly visible and the chin is neither raised nor tucked. A slightly imperfect neutral portrait is enough. Repeated retakes to create a sharper jaw work against the purpose of this exercise, which is to document a relaxed starting point.
Keep hair, expression and grooming in the picture notes
Move hair away from the forehead and the lower sides of the face for the first image. A fringe hides the hairline; longer sections can cover the jaw corners. A severe pulled-back style is unnecessary. Loose clips or a gentle tuck may expose enough of the outline without changing the appearance you are trying to understand.
Relax your mouth and avoid deliberately setting the jaw. A broad smile can bring the cheeks into greater prominence, while pursed lips or a tightened expression can distract from the normal lower outline. Keep a smiling photo as an additional reference if you are checking glasses or earrings, but use the neutral one when comparing the direction of the sides.
Facial hair deserves its own note. A beard can add width at the sides or extend the visible length below the chin. If the jaw itself is hidden, be honest about that limit. Label the photo by the beard style rather than assuming that its outer edge is the underlying face shape. The everyday beard silhouette is still useful when choosing frames, haircuts or the next trim.
After the unobstructed view, take one with your usual hair, glasses and expression. That second image brings the decision back to daily life. A haircut or accessory will be worn with those features, not with your hair held aside for inspection. Keeping the two views together prevents a technical-looking check from overriding the appearance you actually enjoy.
Compare the outline instead of chasing pixel ratios
In the front view, compare forehead, cheek and jaw widths. A square impression may include fairly similar widths, straighter side stretches and a noticeable turn toward the chin. Then consider the whole length from the visible central hairline to the chin. A distinctly long outline with similar jaw features may be better described as rectangular. These are visual descriptions with overlap, not pass-or-fail criteria.
If drawing lines helps, place them on a copy of the image. Mark the visible outline rather than the shadow inside it, and use the same landmarks when you compare another photograph. Avoid drawing a perfectly square box first and looking for ways to fit the face inside it. That approach can make hair, shadows and minor asymmetry seem like errors instead of normal parts of a portrait.
A small checklist is more useful than a long set of screen measurements. This table links common photo problems to a practical adjustment, so you can decide whether another image would add useful information.
| What the photo shows | Why the comparison is difficult | What to change |
|---|---|---|
| One side appears much wider | The head may be turned | Face the camera and compare ear visibility |
| A dark line looks like a jaw corner | Lighting may be drawing the edge | Use more even light and follow the actual outline |
| Hair covers the temples or chin | Important boundaries are hidden | Clip the hair aside for one reference image |
| The face looks different in every selfie | Distance and pose may vary | Use a support and repeat one setup |
| A filter visibly changes the outline | The image has been altered | Compare an unfiltered original |
Treat disagreement between apps as a limit, not a diagnosis
An automated tool may return square for one image and round or rectangle for another. That alone does not tell you which answer is correct. The images may differ, and the tools may use different definitions or ways of finding the face boundary. A confident-looking percentage does not remove those uncertainties. Do not read it as a scientific certainty about your appearance.
If you choose to use a tool, give it the same neutral picture you use for your own comparison. Then read the result alongside visible observations: broad jaw, softer corners, longer forehead or cheeks wider than the lower face. If the label does not explain those observations, keep the observations. They are more useful at a haircut or frame-fitting appointment than an isolated score.
Consider whether an upload is necessary at all. Check what a service says about storage and image use before sending a portrait, and do not assume that every free quiz needs access to your full photo library. A mirror and a locally saved photograph may be sufficient for the styling decision in front of you. Convenience is worth comparing with how much information you actually need.
Save a reference that helps with the next decision
Keep one neutral image and one everyday view in a place you can find again. Add a short note about the hair and grooming in each, along with a few plain observations about proportions. You might write “similar forehead and jaw width, rounded chin, longer-looking with hair lifted.” That gives useful context without locking you into a category you will later feel obliged to defend.
For a haircut appointment, show the reference alongside a picture of the effect you want and explain your daily styling routine. For glasses, repeat the same front view with two candidate frames and compare fit as well as appearance. If your goal is simply choosing between two options, consistent pictures of those options may matter more than refining the underlying face label.
End the photo check when it supports a decision. A folder full of close-ups, a perfect traced outline and agreement from multiple apps add little at this point. A repeatable view can make proportions easier to discuss. Your own comfort and preference still decide what you do with that information.