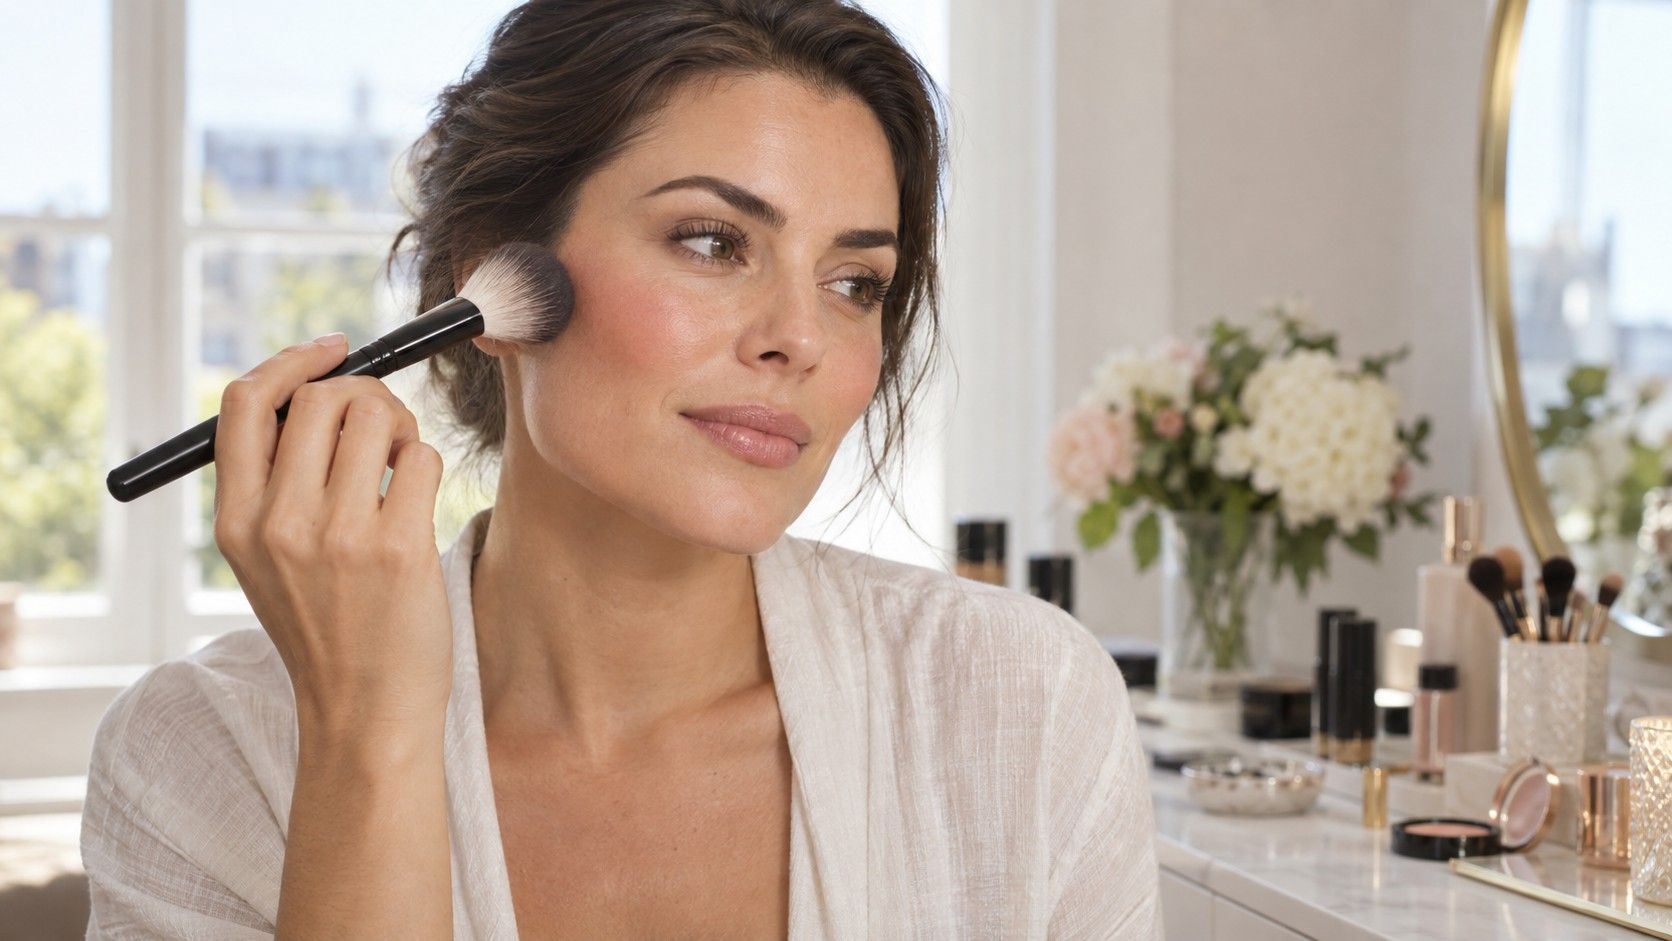
Makeup for a square face can emphasize the cheekbones, introduce a little color or create a softly shaded jaw. It can also leave the face outline completely alone. The most useful starting point is the effect you want to see in your usual lighting, rather than a diagram that treats every corner as something to remove. Try one change at a time so you can tell what the placement actually does.
Choose an effect before choosing a placement map
A defined jaw and a fairly similar width through the forehead and lower face are common reasons someone describes their face as square. Those proportions do not tell you where blush must begin or how much contour you need. Cheekbone position, face length, skin texture and personal taste still vary. Begin by naming a small goal: warmth across the cheeks, a more visible cheekbone or a softer-looking edge in photographs.
You may enjoy the jawline and want to keep it visually clear. In that case, skip jaw contour and put the effort into the eyes, lips or cheeks. For a graphic look, precise eyeliner and a defined lip can repeat the face’s structure deliberately. A soft look can come from diffused color and texture without trying to simulate a different bone shape.
Save one reference for placement and another for finish if needed. A photograph can be useful for the direction of blush even when its heavy matte base would not suit your routine. Compare references with a similar camera angle and expression. A three-quarter pose with strong side light can make cheek definition seem far more pronounced than the same makeup seen head-on beside a window.
Map your own cheeks in ordinary light
Sit or stand near a window in indirect light and look straight ahead with the face relaxed. Turn a little to either side to see where a natural shadow appears beneath the cheekbone. Then smile and relax again. Blush placed only while smiling may sit differently when the cheeks settle, so check both expressions before deciding where the color should remain.
Use a light base if you usually wear one, but do not change the entire complexion routine for the experiment. A very full-coverage foundation can remove natural color and change how much blush seems necessary. Test placement over the finish you will actually use. Follow the application and use directions on your products, including which areas they are intended for.
Notice the space between the outer eye, cheek and jaw. A broad sweep of color across that area makes a different shape from a small patch on the front of the cheek. Neither belongs exclusively to a square face. If you wear glasses, put them on during the check: a lower rim may overlap the top of the blush, while a dark frame can add more definition than any contour.
Keep brushes clean and choose a size that lets you control the area you want to color. A large fluffy brush can distribute a small amount softly, but it may be too broad for a narrow placement. A dense brush can deposit more than expected. Tap away excess powder or start with a tiny amount of cream before placing the brush on the face.
Use contour as a small shadow experiment
Choose a contour shade by testing it on your skin rather than relying on a universal cool-tone instruction. The useful question is whether the blended result resembles a subtle shadow in your usual light. A shade that looks gray, orange or conspicuously dark is unlikely to become convincing through a thicker application. Use a small amount first and inspect it from the front and the side.
For cheek definition, begin close to the outer cheek where you can see the natural hollow, then blend within the area you intended to shade. Avoid drawing a long dark stripe toward the mouth simply because a diagram shows one. Stop and look from a normal conversational distance. The placement can be shorter, higher or omitted entirely if it creates a line you do not enjoy.
If you want to contour the jaw, try a light touch near the corner and blend the edge carefully. Check the transition into the neck under the light where you will be seen. Hair, a shirt collar and turning the head can expose a stripe that looked hidden while facing the mirror. Adding more product to fix a hard edge often makes the area darker; a clean brush or sponge may be more useful.
You do not need matching bands at the temples, cheeks and jaw. On a shorter square face, shading several borders at once may take up more visible space than intended. Pick one area, photograph it, and decide whether its contribution is worth the extra step. Contour square face tutorials are starting suggestions, not instructions to follow in full.
Try two blush directions instead of a fixed rule
For a lifted-looking sweep, place a small amount toward the outer cheek and blend gently along the direction of the cheekbone. Keep checking the front view so the color does not become a disconnected mark near the temple. If the placement is barely visible except from the side, move the next small application slightly forward rather than building a deeper stripe in the same place.
For a rounder patch of color, place blush more toward the front of the cheek and diffuse the perimeter. This can give a fresh, direct effect without implying that the face itself must become round. Let the color sit where it looks intentional with your relaxed expression. Do not use a rigid distance from the nose; brush size and face proportions change what that distance would mean.
Compare the two placements on separate occasions or photograph each side before blending them into a consistent final look. Keep the amount and shade similar so you are comparing direction rather than intensity. One application may suit a bare eye and another a stronger lip. There is no need to decide on a single permanent placement for every outfit and occasion.
Blush finish matters as much as its position. A matte powder, a soft satin cream and a visibly shimmering product can make the same area catch attention differently. Test the product over your usual base and allow it to settle before adding more. If blending lifts the foundation, reconsider the amount, tool or product combination rather than rubbing repeatedly at the same spot.
Balance highlight with the finish you want
Highlight draws attention through reflection, so place it where you enjoy that reflection as the face moves. A little on the upper cheek can make the cheekbone more noticeable. A broad shiny strip can become the dominant feature, especially under overhead lighting. Apply a small amount, turn your head and check how much of the area flashes at once.
You can keep the center of the face quieter while adding glow to the cheeks, or use a generally luminous base and skip a separate highlighter. Neither choice depends on the jaw shape. Skin texture will remain visible under makeup, and reflective products may make it more noticeable in certain lights. Choose the finish you like without expecting a product to turn skin into a flat surface.
Consider eyes, brows and lips as part of the same picture. Very dark brows, a sharp contour and a deep lip can create several strong lines at once. That may be exactly the intended look. If the result feels busier than expected, soften or remove one element before adding another. A clean brush and a lighter hand often reveal whether the issue was placement or simply too much contrast.
Check the finished face while talking and turning
Leave the close mirror and look from farther away. Turn both ways, smile and speak while watching how the color sits. Then check in indirect daylight and the indoor light you expect to use. Shadows from a bathroom fixture can hide an unblended patch; a window can reveal that the same patch needs very little correction. Make the correction under a stable light rather than chasing every difference between rooms.
Take one front photograph and one three-quarter photograph without a beauty filter. Use the same camera distance when comparing makeup days. A close selfie, altered exposure or different white balance can make blush and contour look stronger or weaker. Judge the result in the mirror as well as the image, especially when the makeup is intended for ordinary face-to-face situations.
If you like the result, note the product, brush and approximate placement in a few words. Outer cheek, small amount, blend forward is easier to repeat than a complicated numbered map. On the next attempt, start lightly again rather than assuming you need the same amount. Clothing color, a different base and changing light can shift the overall impression.
A square face gives makeup a structure to play with, and leaving that structure visible is a complete choice. Keep the steps that add something you enjoy and drop the ones that only make the routine longer. The useful test is whether you like the color and definition in motion, with your ordinary expression and the amount of effort you are happy to repeat.