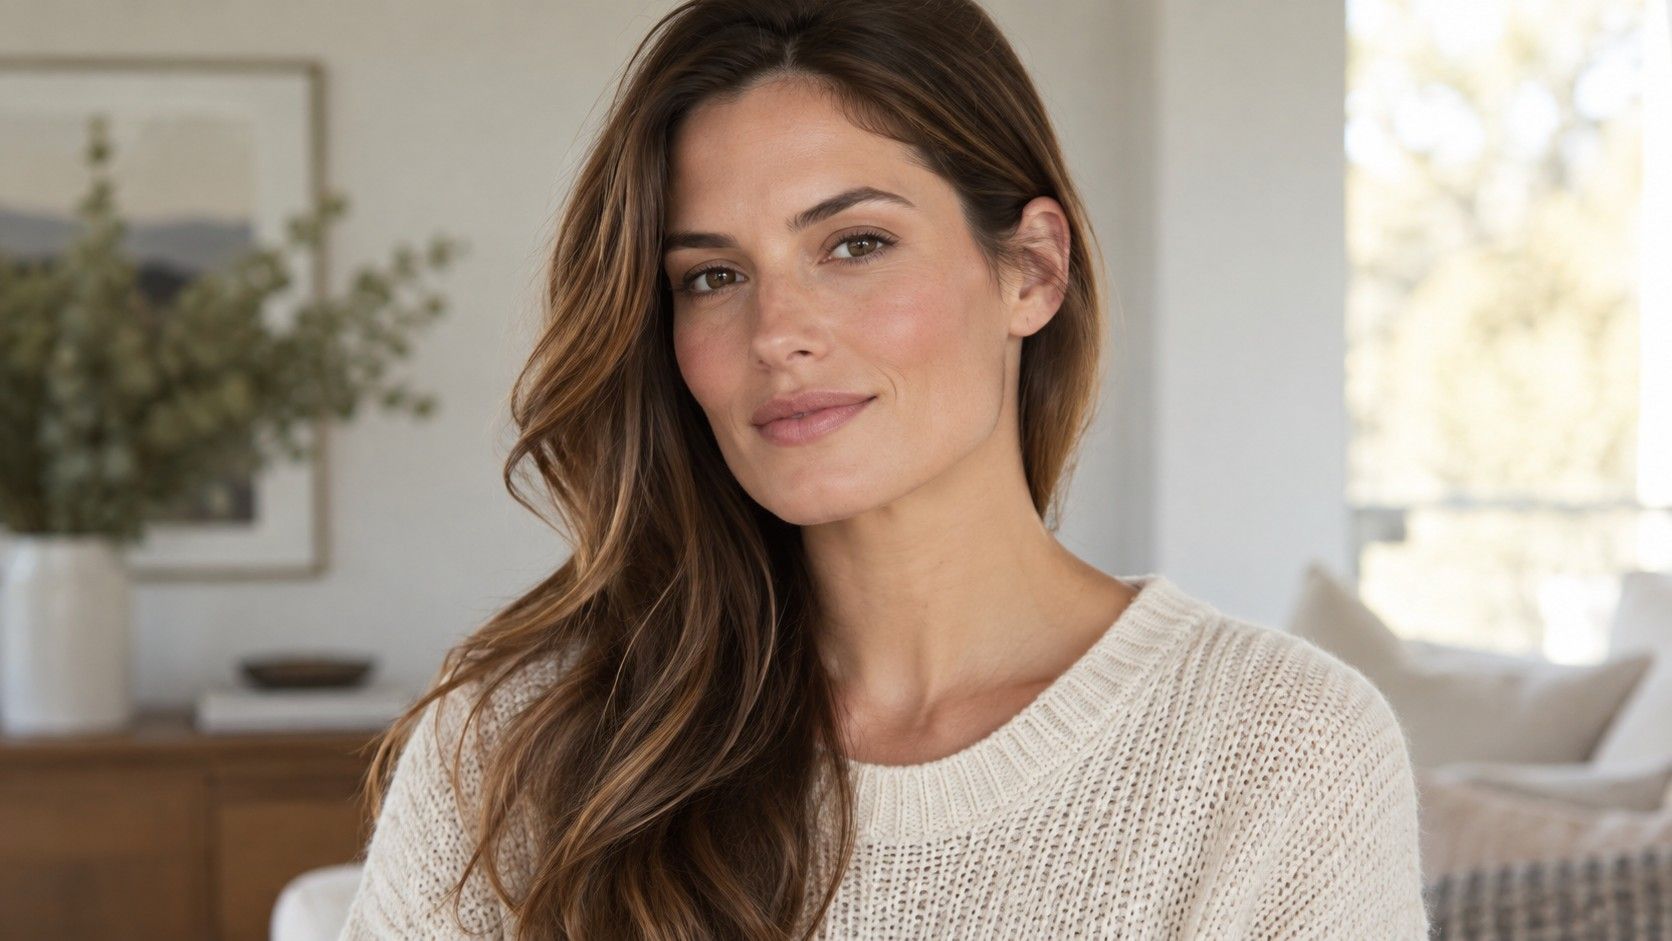
Long hair offers several different frames for the same face. It can fall beside the jaw, sweep back to reveal it or move between the two with a part and a hair tie. The useful decisions are often near the front rather than at the ends. Decide where the shortest pieces should land, how much density to keep through the length and which everyday styles the haircut must still allow.
Choose where the face frame should begin
A front layer near the cheekbone places movement higher than one beginning around the chin. A piece continuing below the jaw gives a longer line and usually more room to tuck or tie it. Neither location is compulsory for a square face. Compare them by holding a section at each point, watching which part of your face stays visible and where the eye follows the hair.
Ask the stylist to show the shortest planned piece while your hair is dry. The word “layers” can describe anything from a small front adjustment to a much shorter top section throughout the head. If you want to preserve most of your length and density, say that directly. Agree on what will change at the front and what will remain in the perimeter.
Waves and curls alter the landing point. A section measured below the chin while stretched can rise toward the jaw when it dries. If you usually wear your hair naturally, describe the desired dry position and ask for the finished shape to be checked in that texture. If you alternate between straight and wavy finishes, discuss which one matters most on ordinary days.
The width of the face frame matters too. Taking a deep section from the sides removes more hair from the length than trimming a narrow section at the front. That can be useful for dense hair and disappointing if you want full ends. Have the stylist show the section before cutting so a subtle change does not become a larger loss of density.
Try the part before making a permanent change
A center part gives a relatively symmetrical opening around the face. A side part shifts the opening and can create more volume on one side. Both can work with a defined jaw. Rather than choosing by a face shape chart, move your part while the roots are damp and see how the hair settles. Your growth pattern may make one position much easier to maintain.
Look at the part from your normal posture and in everyday lighting. A deep side part can look dramatic in a still photograph but leave hair falling into an eye during work. A center part may sit neatly at first and split differently after movement. Try walking around, bending forward and putting on glasses before deciding that the mirror view is enough.
Parting also changes where the front layers land. A piece cut to frame the cheek from a center part can fall shorter or heavier when moved across to the other side. Tell the stylist if you switch parts regularly. They can discuss a more flexible front shape instead of building the whole cut around one carefully styled arrangement.
For long hair square face styling, an open forehead is a valid preference. Sweep the hair away and compare the visible jaw with the effect of loose pieces. You may prefer a clean outline on some days and a face frame on others. Keeping the front long enough to tuck can offer both without committing to fringe.
Keep the ends as full as you want them
Long layers can release movement, but they redistribute the amount of hair reaching the bottom. Fine or less dense hair may look thinner at the perimeter after extensive layering. If full ends matter most, ask whether a small front adjustment and a modest trim would achieve your goal. More layers are not automatically more suitable for a square face.
Dense hair may feel heavy through the lower lengths or gather behind the shoulders. In that case, discuss where weight is actually collecting. A targeted change can create movement while retaining a substantial edge. Ask how the proposed technique affects both the loose shape and a braid or ponytail; shorter internal pieces can escape styles that previously stayed smooth.
The perimeter can be relatively level, softly curved or more tapered. Each changes the view from the back, which is easy to overlook when comparing front photographs. Ask to see a back reference and describe whether you like a strong bottom edge or a lighter finish. A heavily tapered outline may preserve one long point while making the overall length feel much finer.
Face length helps determine how you feel about the balance. Very flat roots with long straight sides can make the outline appear longer, while a little crown or side movement changes it. There is no requirement to add volume. Try lifting the roots with your fingers before asking for shorter layers, so you know whether the taller shape is something you actually enjoy.
Make ponytails and updos part of the consultation
If you wear your hair tied back most days, the pulled back view deserves as much attention as the loose haircut. A smooth ponytail reveals the jaw; a loose front section interrupts it. You can choose either effect. Test a low tie and a higher one, noticing how the hair at the temples behaves and whether the crown feels too flat or too full for your taste.
Before shortening the front, gather the hair into your usual ponytail and show the stylist which pieces must reach. A layer that looks attractive loose may escape the band during exercise or work. Decide whether you are happy using pins or whether you need a genuinely secure tie back length. This is a practical constraint, not a reason to abandon face framing entirely.
Loose tendrils should be optional. If you like them, compare a small section with a larger one and check where it lands against the jaw. If you dislike hair touching your cheeks, keep the front out of the style. An angular face does not need soft pieces added to every updo. A clean bun can be the intended finish.
Comfort matters more than achieving a particular pulled back outline. If a style feels tight, pulls at the hairline or becomes uncomfortable during the day, loosen it or choose another arrangement. Try different placements and avoid assuming that discomfort is a necessary part of a sleek look. The haircut should support your routine without requiring persistent tension.
Match the cut to the time you actually spend styling
A salon photograph may show long layers shaped with a dryer, brush and curling tool. Ask what those same layers will do when air dried. Some will lie quietly, while others may turn or separate in a way you did not expect. Explain whether your usual morning involves a full restyle, a quick refresh or simply brushing and leaving.
If you use heat occasionally, ask for two realistic finishes: the natural version and the styled version. The everyday one should be acceptable on its own. A face frame that only sits away from the eyes after careful brushing may not suit a routine with little time. Keeping the shortest section longer can reduce that problem while still changing the outline.
Long hair takes time to wash and dry, and extra layers do not remove all of that work. Consider how you manage wet hair, whether you wash at night and which sections need attention after sleep. Ask the stylist to show a simple method for the front and roots. Learning two useful movements is more valuable than copying a long product routine without knowing its purpose.
When trying a new routine, change one element at a time. A different part, lighter product or altered drying direction can affect volume enough to change how the haircut looks beside the face. Give yourself a few normal washes to understand the result. Avoid immediately adding more short layers because the first home finish differs from a professional blowout.
Use the next trim to refine rather than restart
After the cut, photograph the front loose, tucked and tied back. Note whether the shortest pieces land where you expected and whether the ends still feel full. Bring those observations to the next appointment. “The right front section falls into my eye when I work” gives the stylist a clearer problem than a broad request to make the face look less square.
Ask which changes need cutting and which can be tested through styling first. If the perimeter feels thin, adding more layers is unlikely to restore its density. If the front feels heavy, a small adjustment may be enough without reshaping all the length. Be explicit about how much length you want to keep, and agree on the amount before the scissors begin.
Layers for square face proportions should serve a chosen effect and a workable routine. You can keep long straight lines, add movement around the cheeks or expose the entire jaw in a ponytail. The most successful version gives you the options you use, with a front length you can manage and ends that look the way you want. Your next trim can refine those decisions as you learn what feels right.